We began by drawing the floor plan directly onto the floor with texta, so we would have more of an idea of how the space would work. This included the fridge, sink and stove dimensions.
We bought a Dometic B2200 roof top air conditioner and a solar panel from eBay (will put details in the product list) and bought the fridge, sink, cook top and range hood from online caravan sellers.
They all seem pretty easy to install, although I will go into detail on how we installed our air conditioner as we had trouble finding any info on them on the internet and it didn't come with detailed step by step instructions.
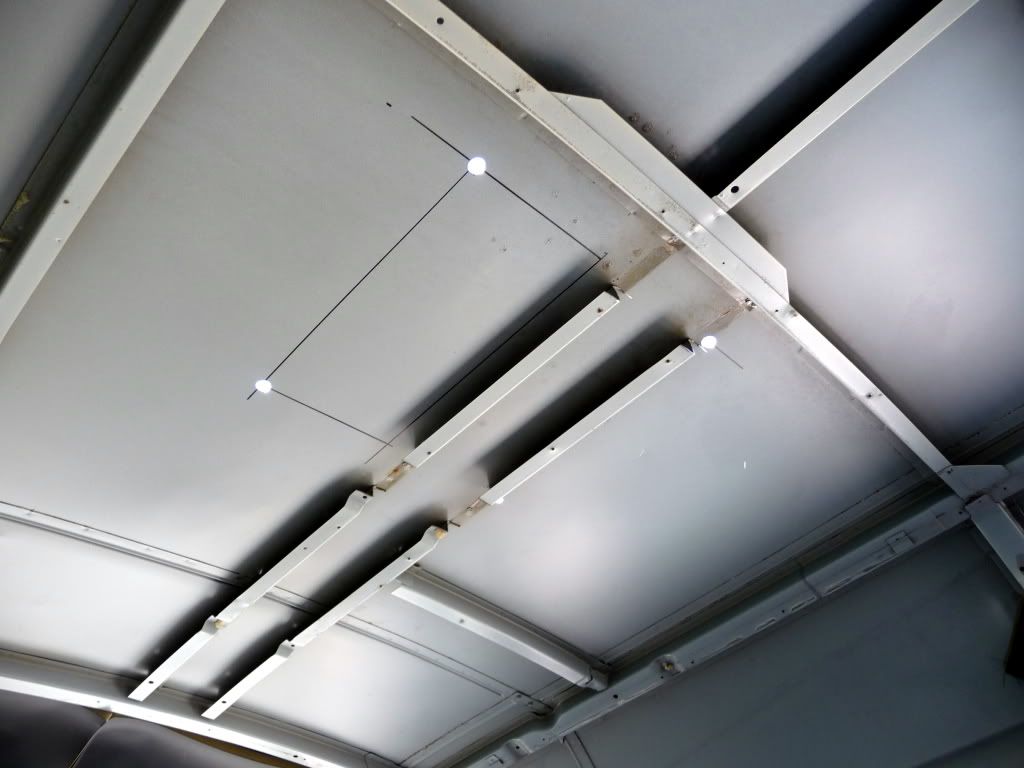
Firstly, with the use of the physical floor plan we decided to have our aircon front of the middle of our bus. It does say in the instructions that it should sit center rear, but because our layout will be back heavy- as in alot of the weight will be center rear, we found it may help to distribute the weight better. Using the template supplied, a square was marked out on the roof and holes were drilled. The "beams" of the roof were also cutout.

Next we cut out the square using the holes as a guide. David preferred to cut downwards rather than up inside, found it easier cutting and less likely to get metal in eyes.
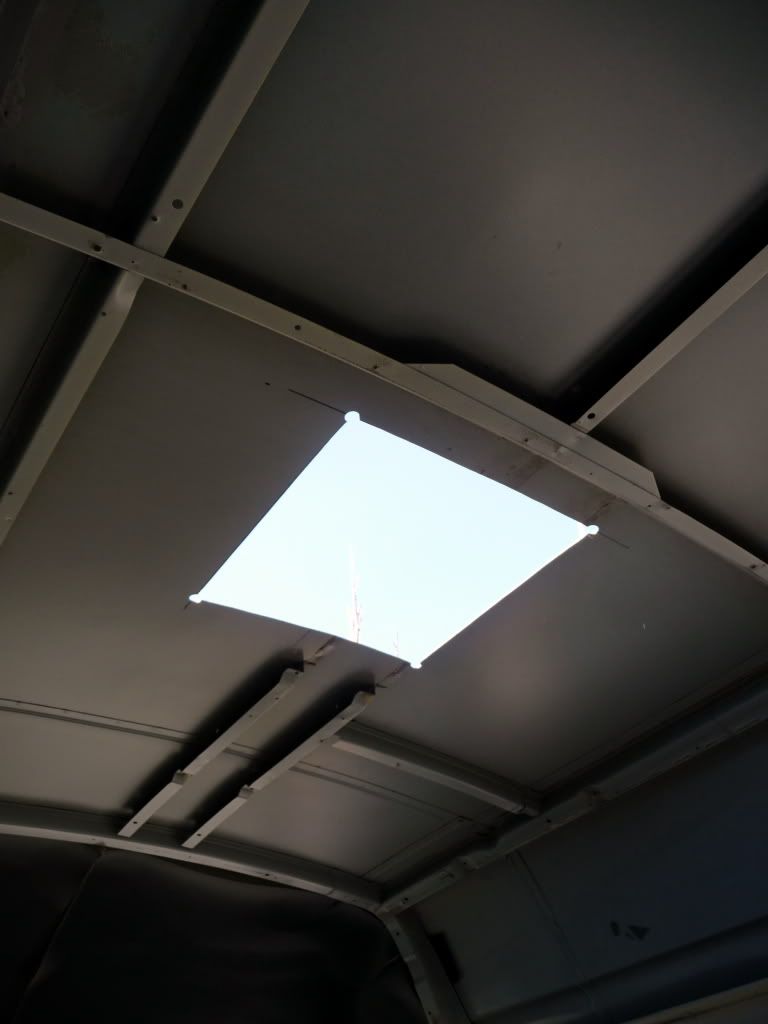
Then we were left with a lovely hole. You will see that its not a perfect square but has circles at the corners- the template is actually that shape.
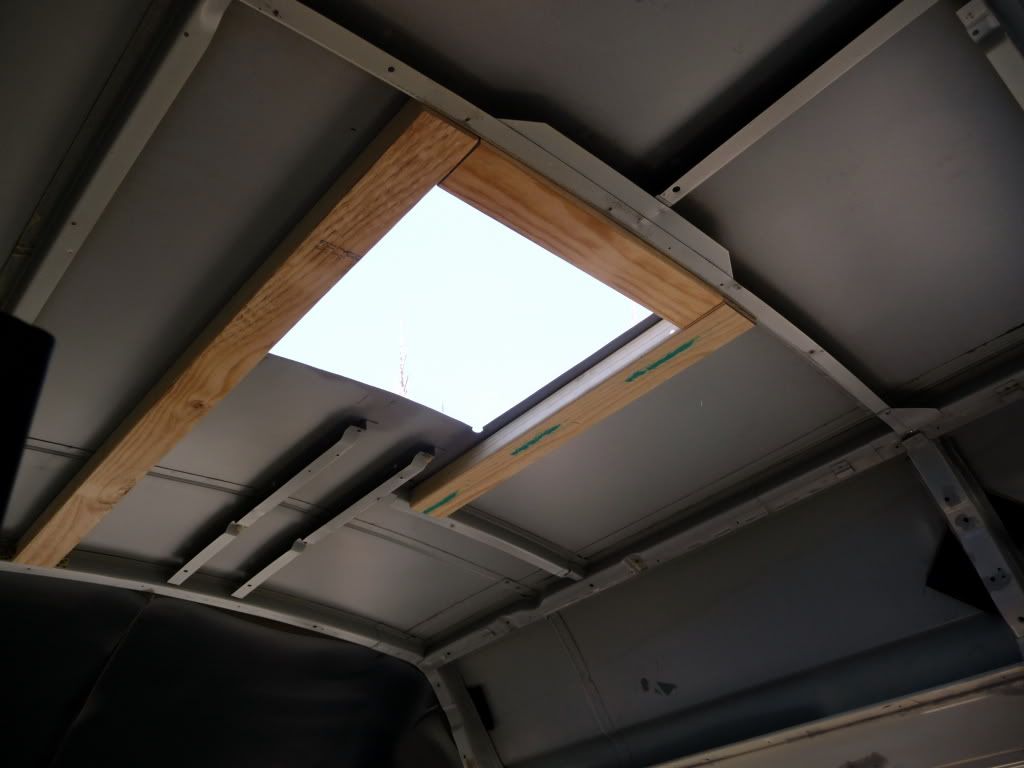
Next the roof needed support "beams". If you don't do this, your aircon will bounce all over the place. Don't forget you will be moving with this house so everything must sit tight and secure. It also adds to prevent sag and in the long term water pooling creating rust or damaging the unit.

We used the existing "beams" as a guide. Its not pretty but its not going to be seen anyway when the ceiling goes up.
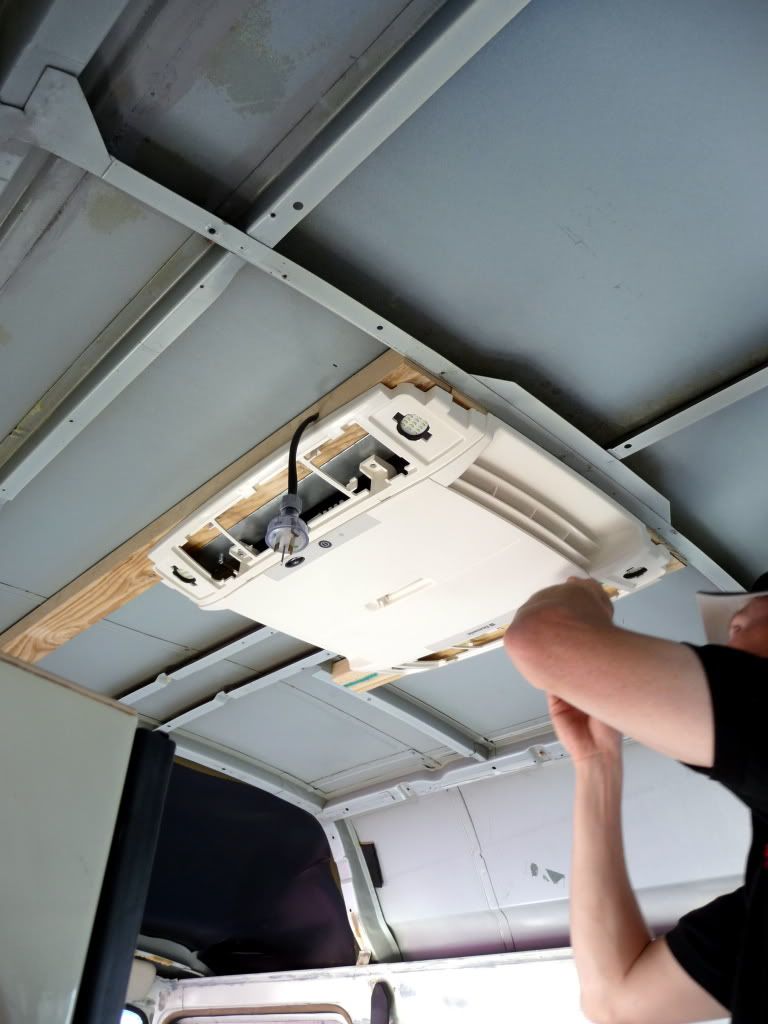
Then the exterior unit went on followed by the interior unit. Pretty straight forward, it just clips in then four screws. The cover will stay off for now until the cupboards and ceiling are done. A bit of padding was used as our bus is quite curved at the top. We used the padding the unit came with, and voila one aircon unit installed!
Another thing we did do when we finished the installation was to water test it. Just getting a hose to get some water on the roof to test for leaks might save some brown stained ceilings in the long run.
No comments:
Post a Comment