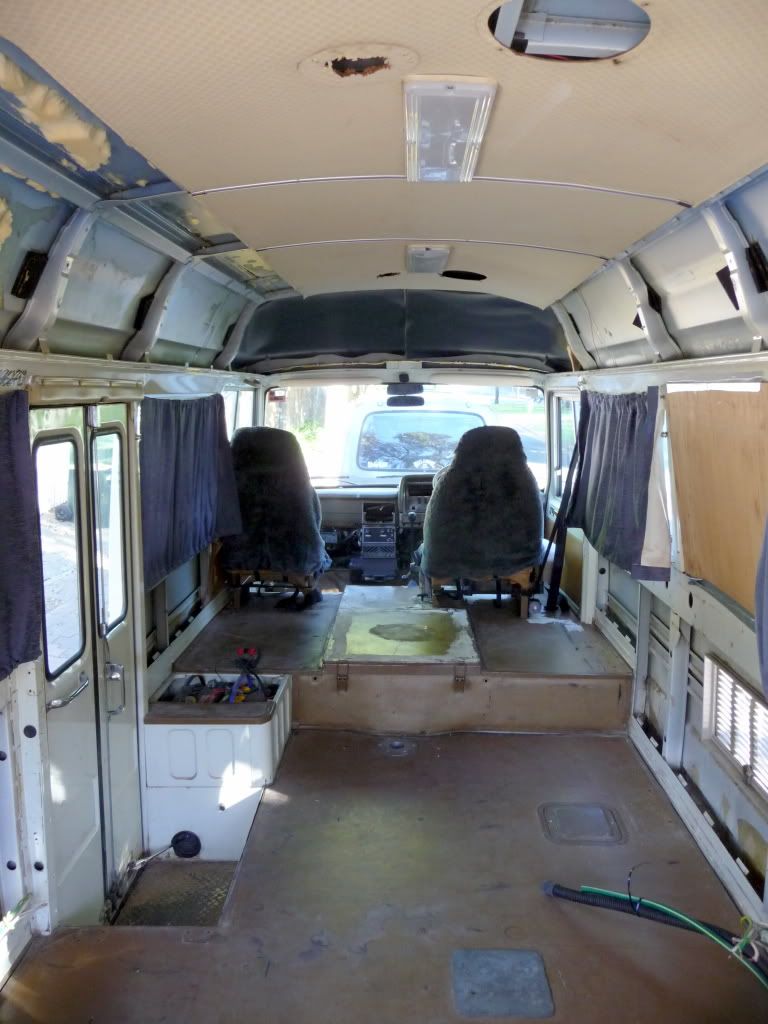
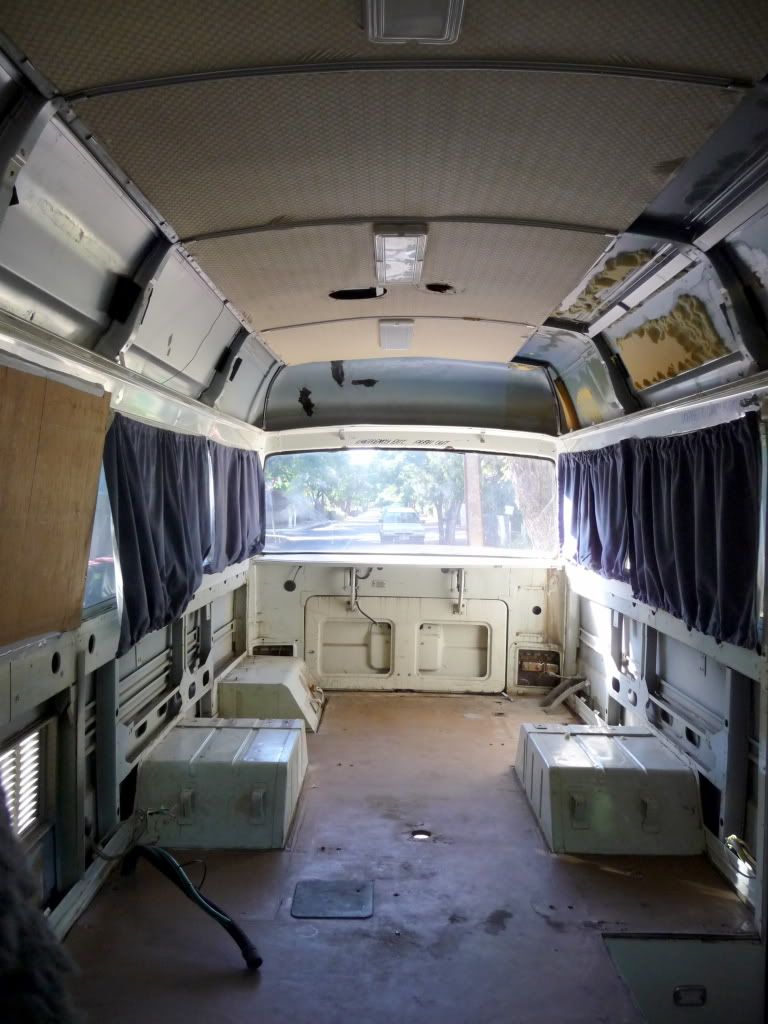
Gus gutted (we still have to take the ceiling down)
We basically need to get a 3rd seat, get it installed and then get it inspected to make sure its all safe and legal. BUT aparently you can't just buy any old seat and whack it in. It must be installed by a certified fitter and must be compliant with saftey standards (which is fair enough) which will cost us around $2000- that we do not have at this point and time. So for the moment we are going to get new driver and passenger 1 seat belts and get him registered as a 2 seater and deal with the 3rd seat later. The lovely guys at willshire motor trimmers are installing the seat belts and in the future the 3rd seat.
However, this brings out another problem. Before I can do a final floor plan, I need to know where that 3rd seat will fit and how much space it will take up and leave us. Argh the fun.
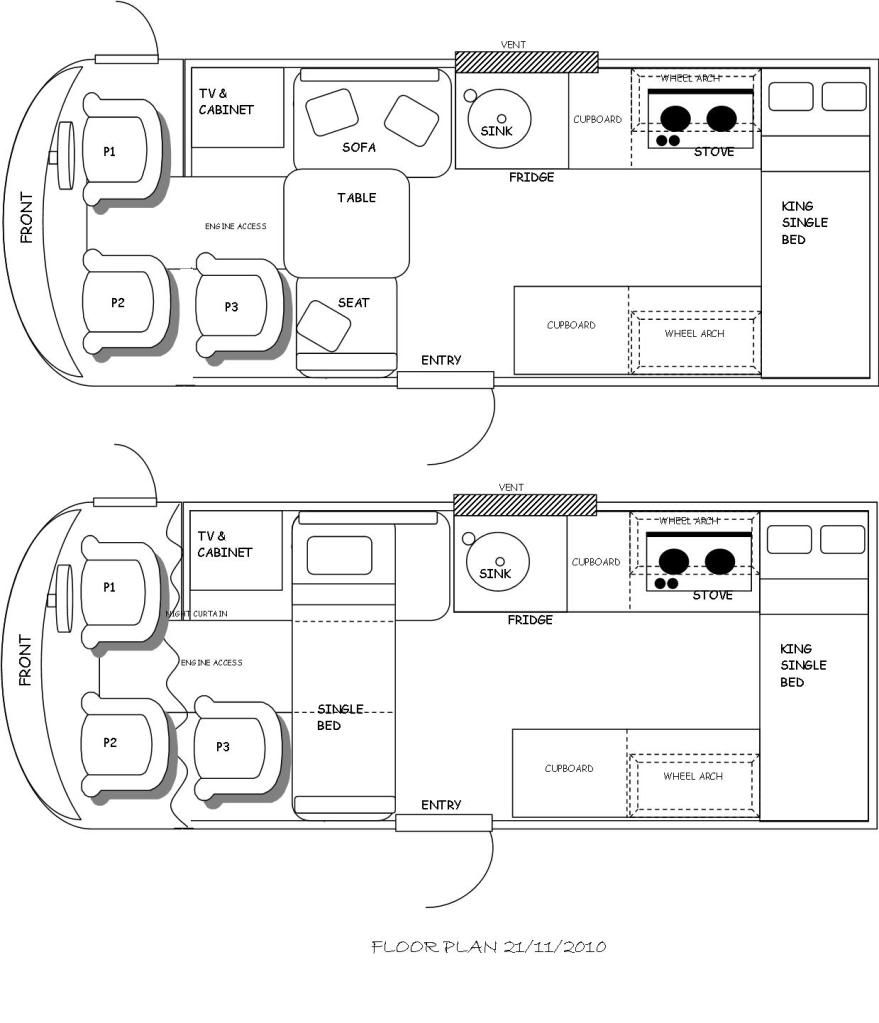
Anyway, I have done a rough floorplan for now. This will change slightly with the addition of appliances, but hopefully not too much. From the drivers side (top) to the back of the bus, the plan is to have a storage cupboard which will house all of the electrical items: laptop and extra hard drive, phone chargers, power leads etc. The top will have the TV. Next to that will be one of the sofa chairs with that will convert into the dining chair and then into a single bed at night.
Then we have the kitchen bench area with fridge and as much storage space as possible. On top will be the sink and stove both with the glass top for added bench space. We are going with most items from Dometic as we find the quality and price resonable. Alot of the appliences I have found online but we will also buy a couple of items from Dario's Caravans in Adelaide. I might actually add a seperate section for all the items we are purchasing as its slowly becoming an extensive list.
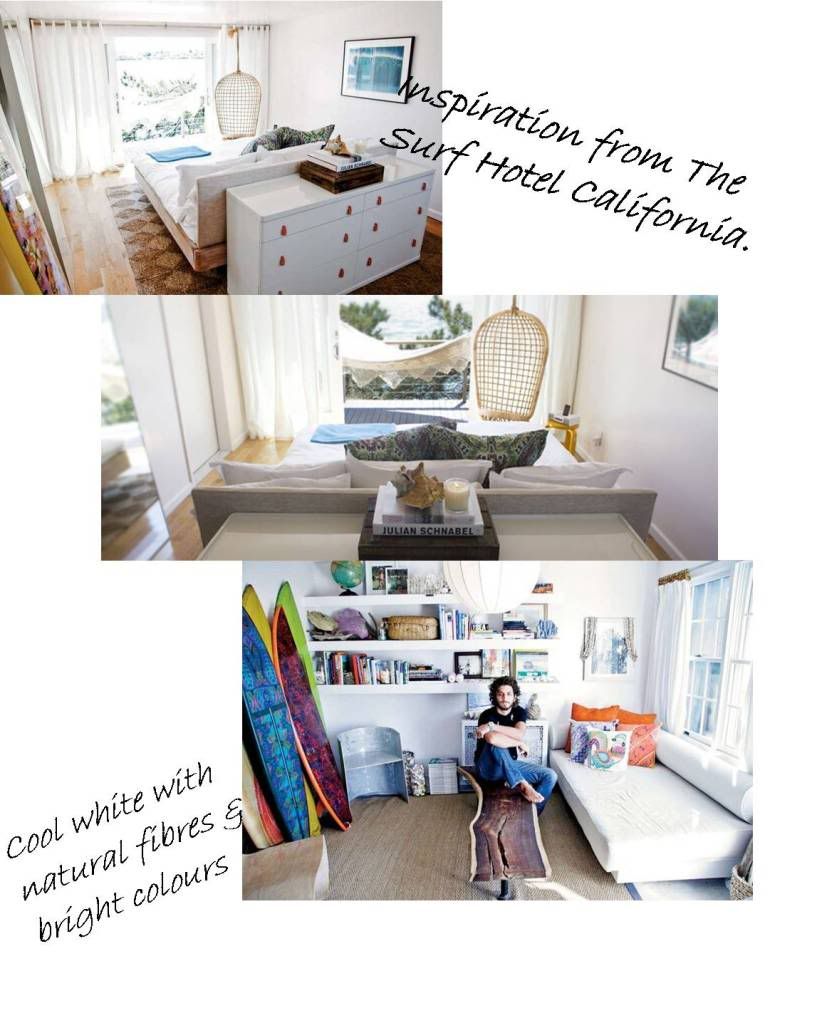
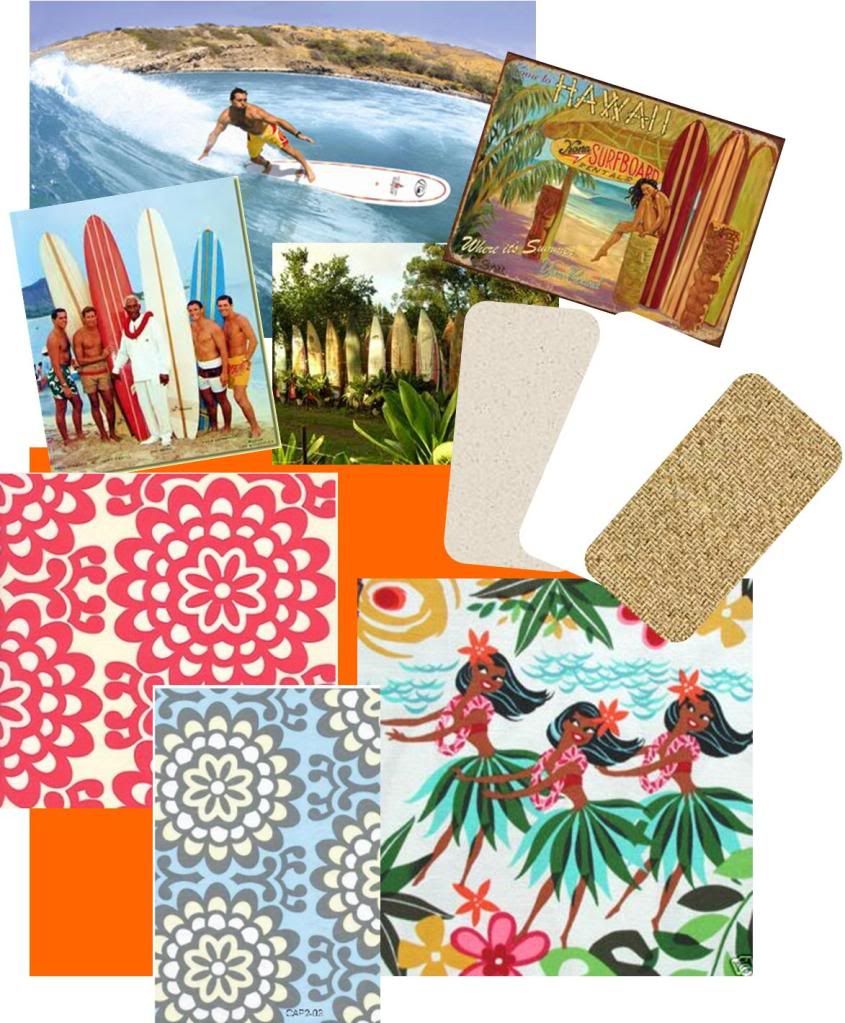
Our bus theme is funky surfie chic
The passenger side has more storage/bench space, with keeping everything fairly low to create the illusion of space. I found some great examples of interiors searching the internet.

I love especially the bottom motorhome (which I believe is Coaster LWB) with its low levels to achieve a good flow of space and its crisp white interior.
No comments:
Post a Comment